

Hi lovely readers,
Happy October! The month of Halloween, and Hacktoberfest is here once again! I’ve been participating this year, like many others, in helping out in Open Source for Hacktoberfest. Open Source is a very hot topic, especially in October. I wanted to give some extra support and happiness with a blog post for beginners.
It took me quite some time to get used to the git CLI when I started out. Even after 3+ years of coding, I don’t think the CLI and its definitions are all that great. I know I’m not the only one thinking that, many people have a hard time learning how to use git.
Luckily there’s a desktop application that can make it easier for you. It’s called GitHub Desktop. You can do almost everything with it, and it's a great replacement until you feel comfortable learning about the command line version. In this blog post, I will show you how you can create pull requests with GitHub Desktop so you can get your Pull Requests merged for Hacktoberfest.

Prerequisites
You need to know the following terms to understand this tutorial:
- Issue
- Fork
- Clone
- Publish
- Commit
- Branch
- Pull Request
You also need to have GitHub Desktop already installed. You can download it from this website. Go through the setup and login with your GitHub account when you launch it for the first time.
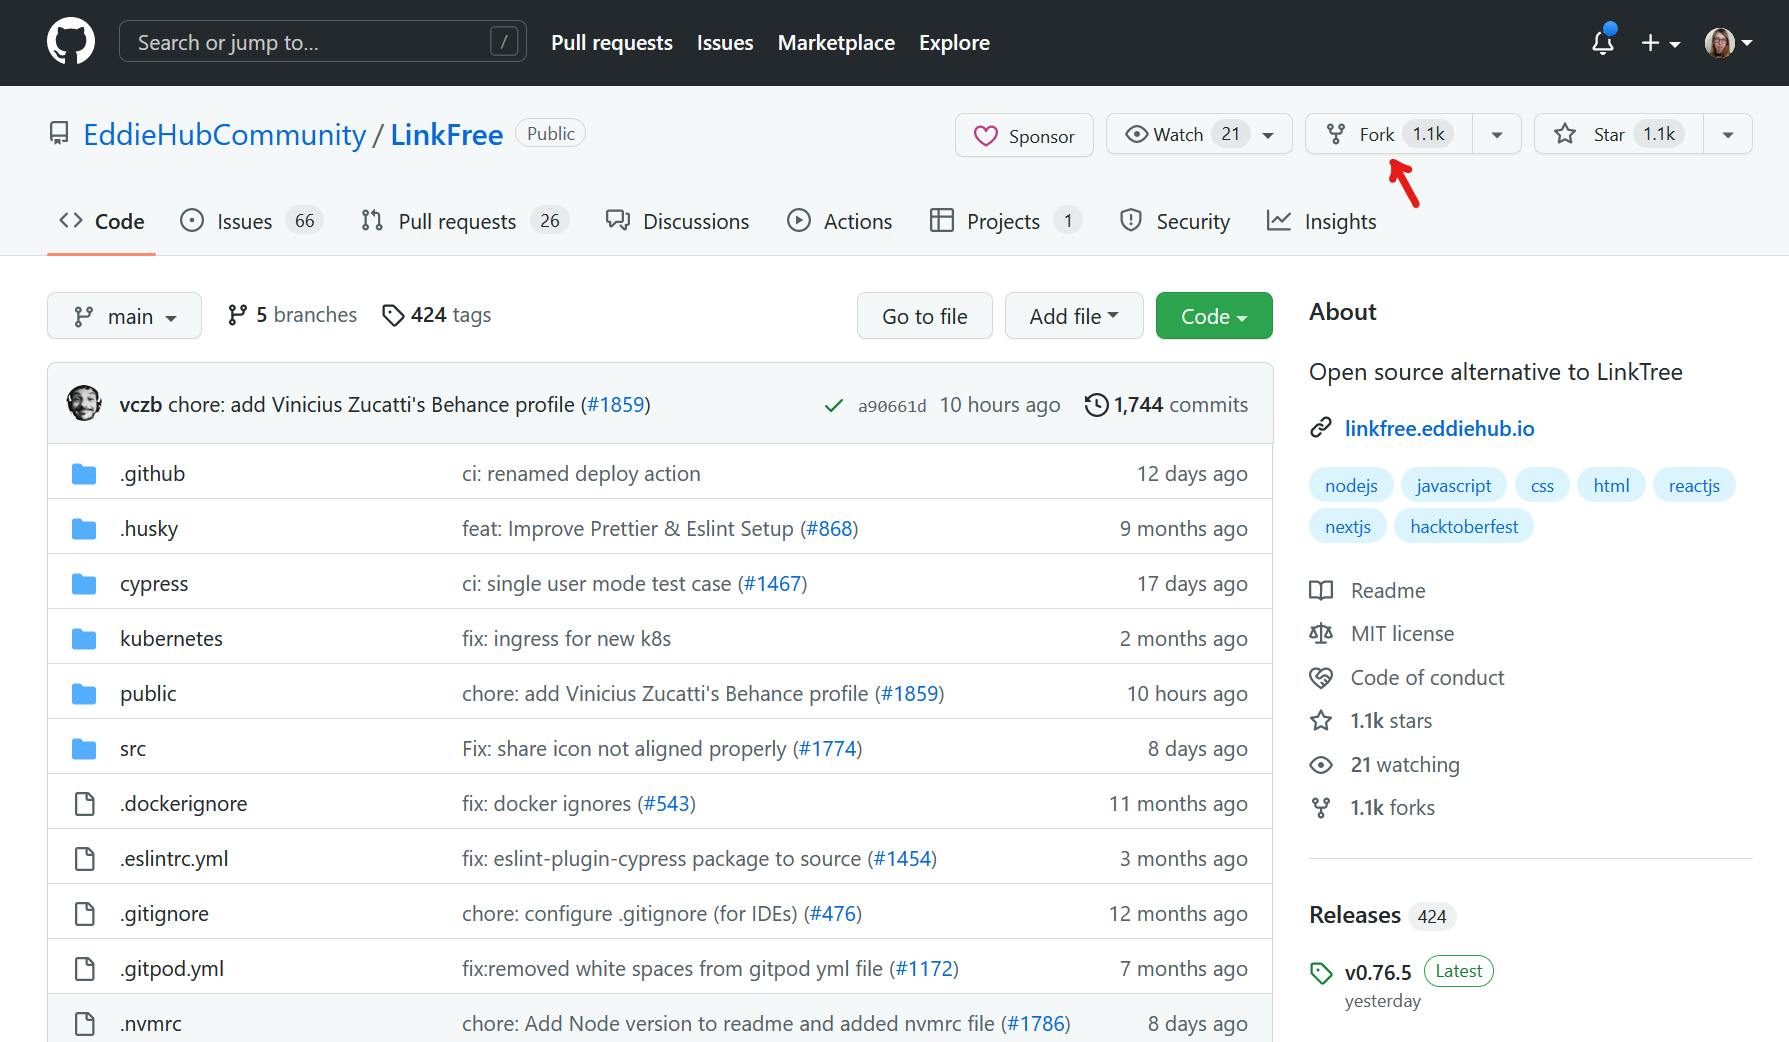
1. Fork the repository
If you want to work on an issue from a repository that isn’t yours, you need to fork it. You have to do this from GitHub itself by clicking the ‘Fork’ button in the right-top corner of the page of the repository.
Once you’ve decided on a name for your new forked repository, GitHub will automatically link you to this new repository.
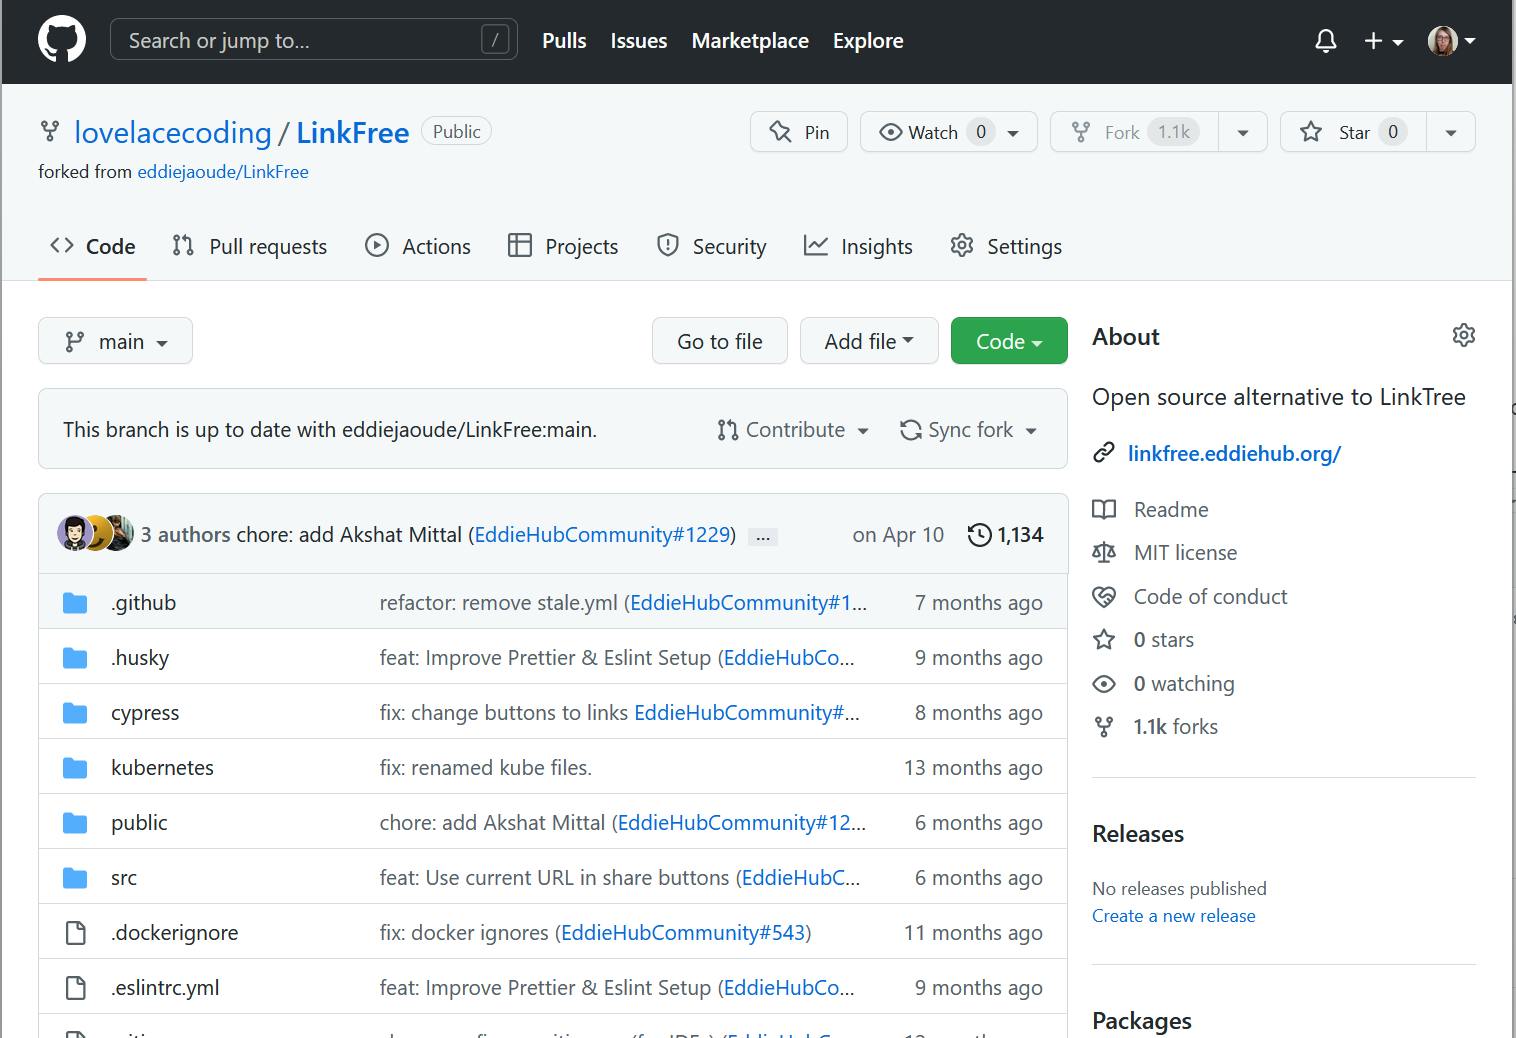
2. Clone the repository
Copy the URL of the forked repository (the repository that starts with your own username) that you just created, and open GitHub Desktop.
In the top menu, click on File → Clone repository.
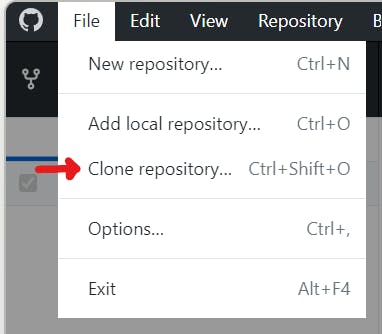
Next, go to the URL tab, put in the URL you copied, and pick a location where you want to store it locally,

Pick the ‘To contribute to parent project’ option

3. Make code changes
Open your cloned repository that’s saved somewhere on your PC in your IDE, and make the changes that you want to make. If everything goes as it should, the changed file(s) should show up on the ‘changed files’ sidebar.
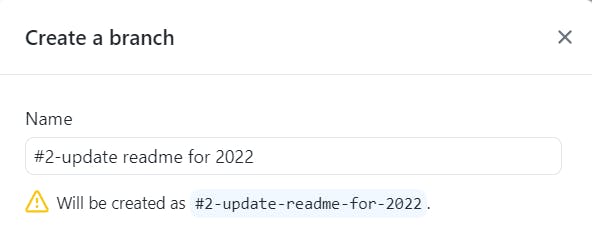
4. Make a new branch
A lot of maintainers don’t like it if you work directly on the main branch, because of possible bugs or code errors. So before we commit our changes, we have to make a new branch.
Click on Branch → New Branch and decide on a name
What your branch should be called depends on the repository, always check the (contribution) README before deciding on it. If I can pick myself I always like to start with the number of the issue that has been assigned to me and the topic of what I did.
For example: #2-update readme for 2022.
It will ask you if you want to switch branch, pick the ‘Bring my changes to’ option.

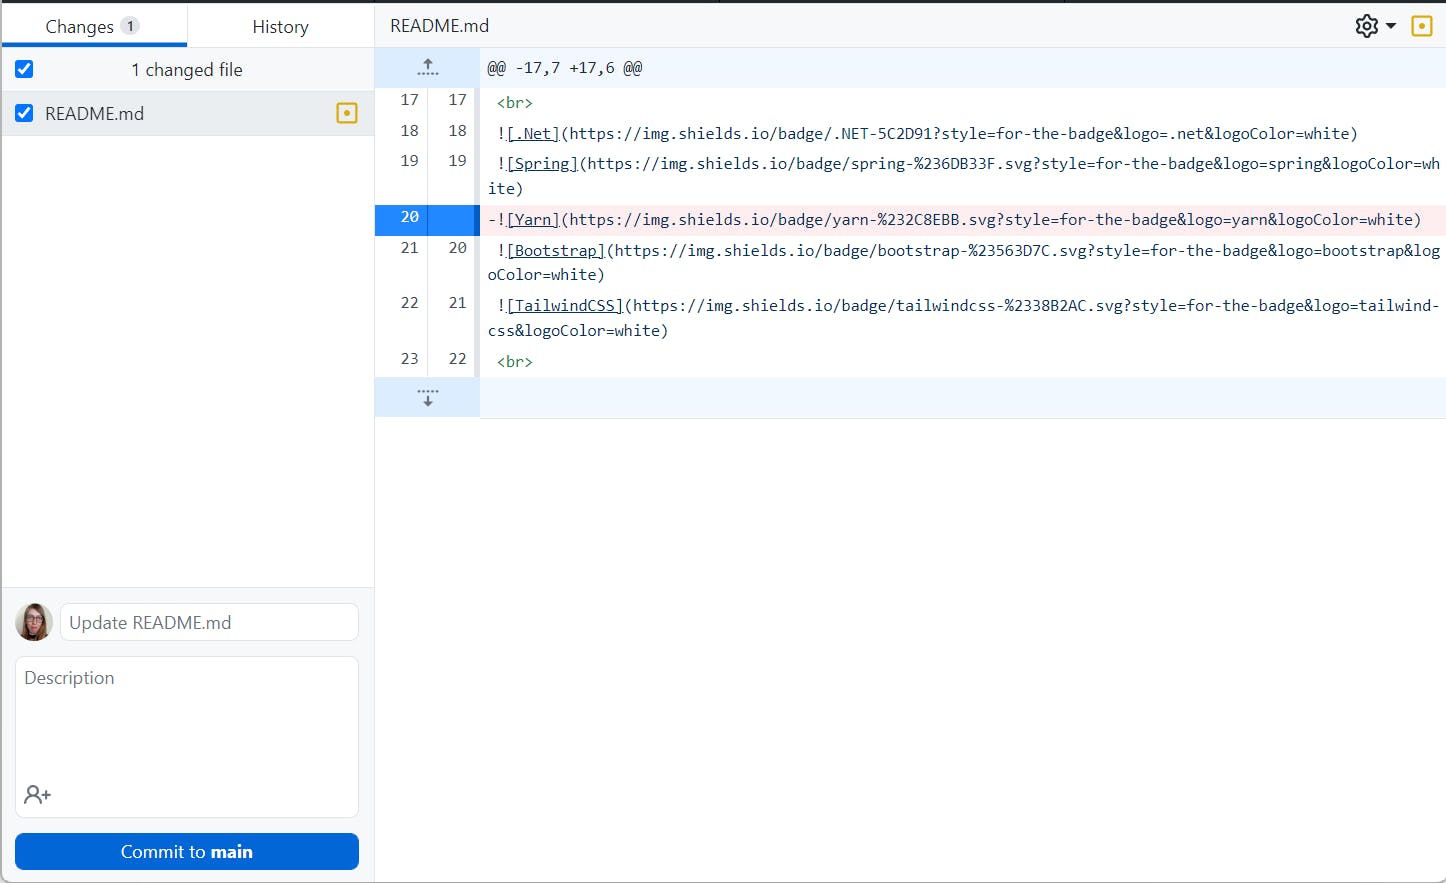
5. Commit & Publish changes
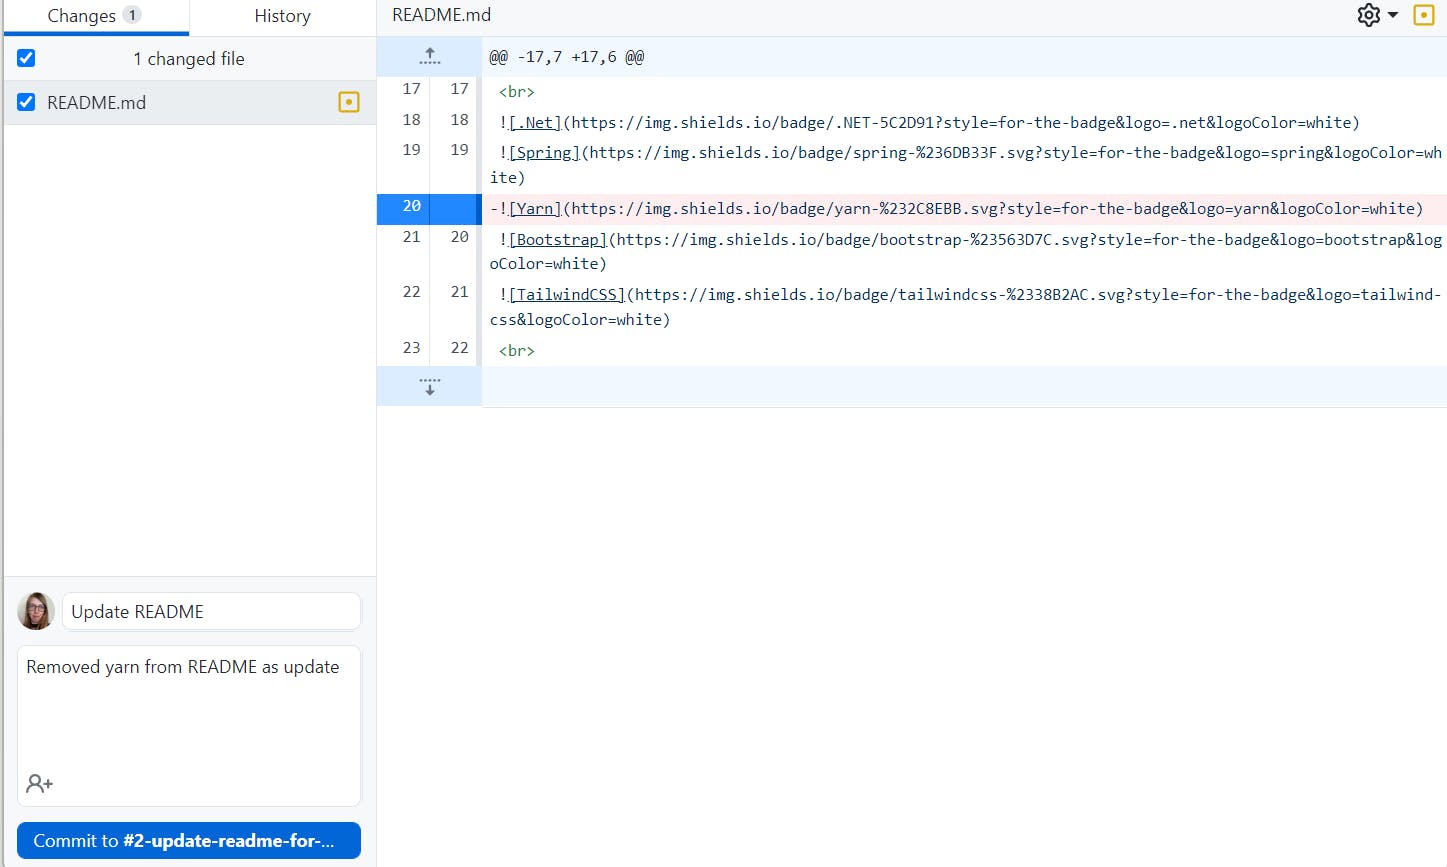
Now we are going to commit the changes locally. Give it a well-fitting title. Once again, look at the contribution READMEs to see if there is a certain template you have to follow.
Put in a title and description in the left-bottom corner and click on the commit button.
Now it will ask you if you want to publish the new branch to GitHub. Of course, we want to show our changes! Thus we click on ‘Publish branch’.
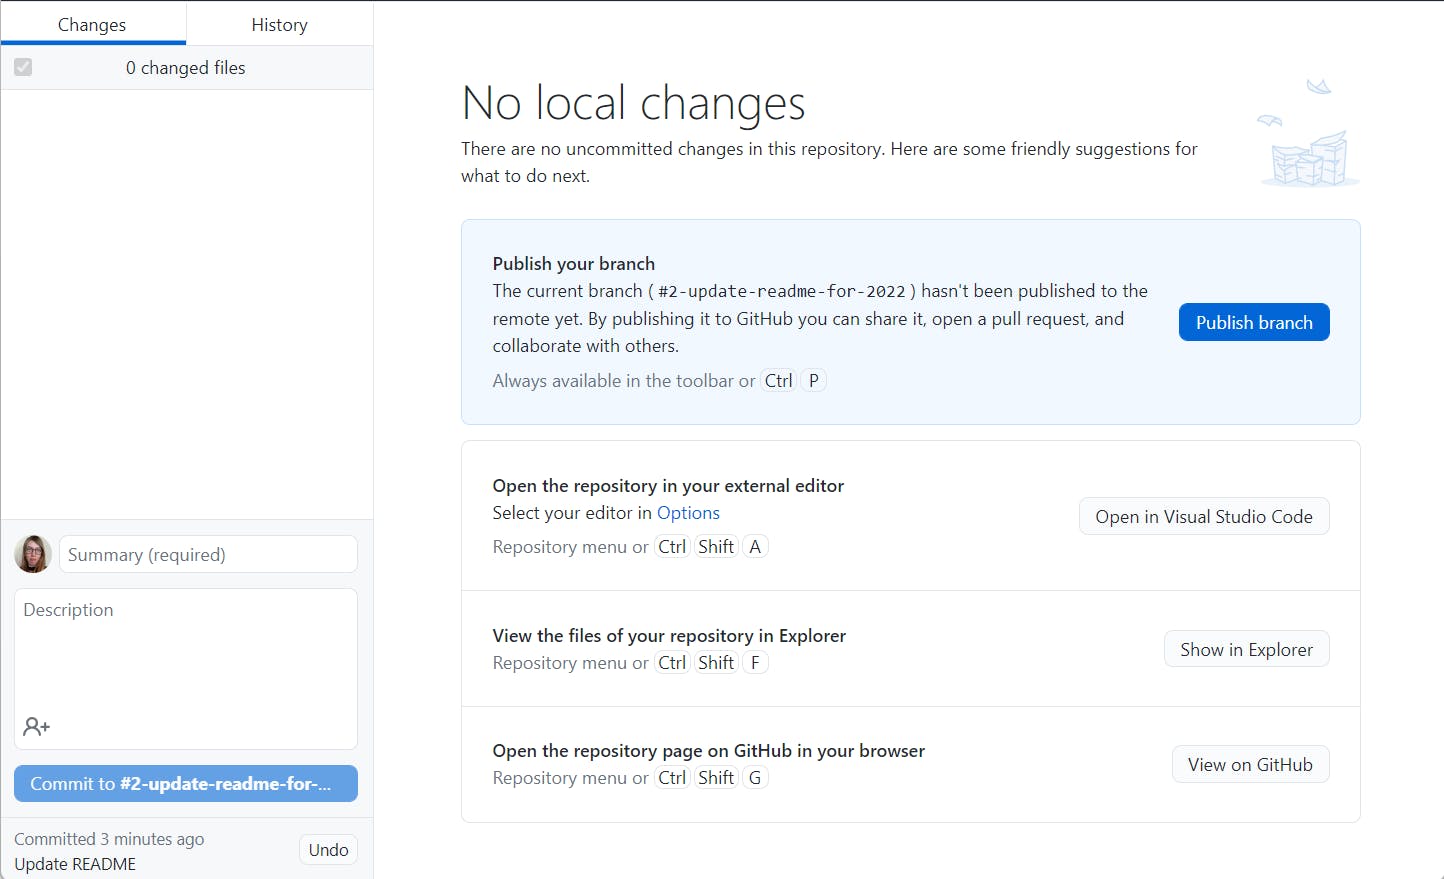
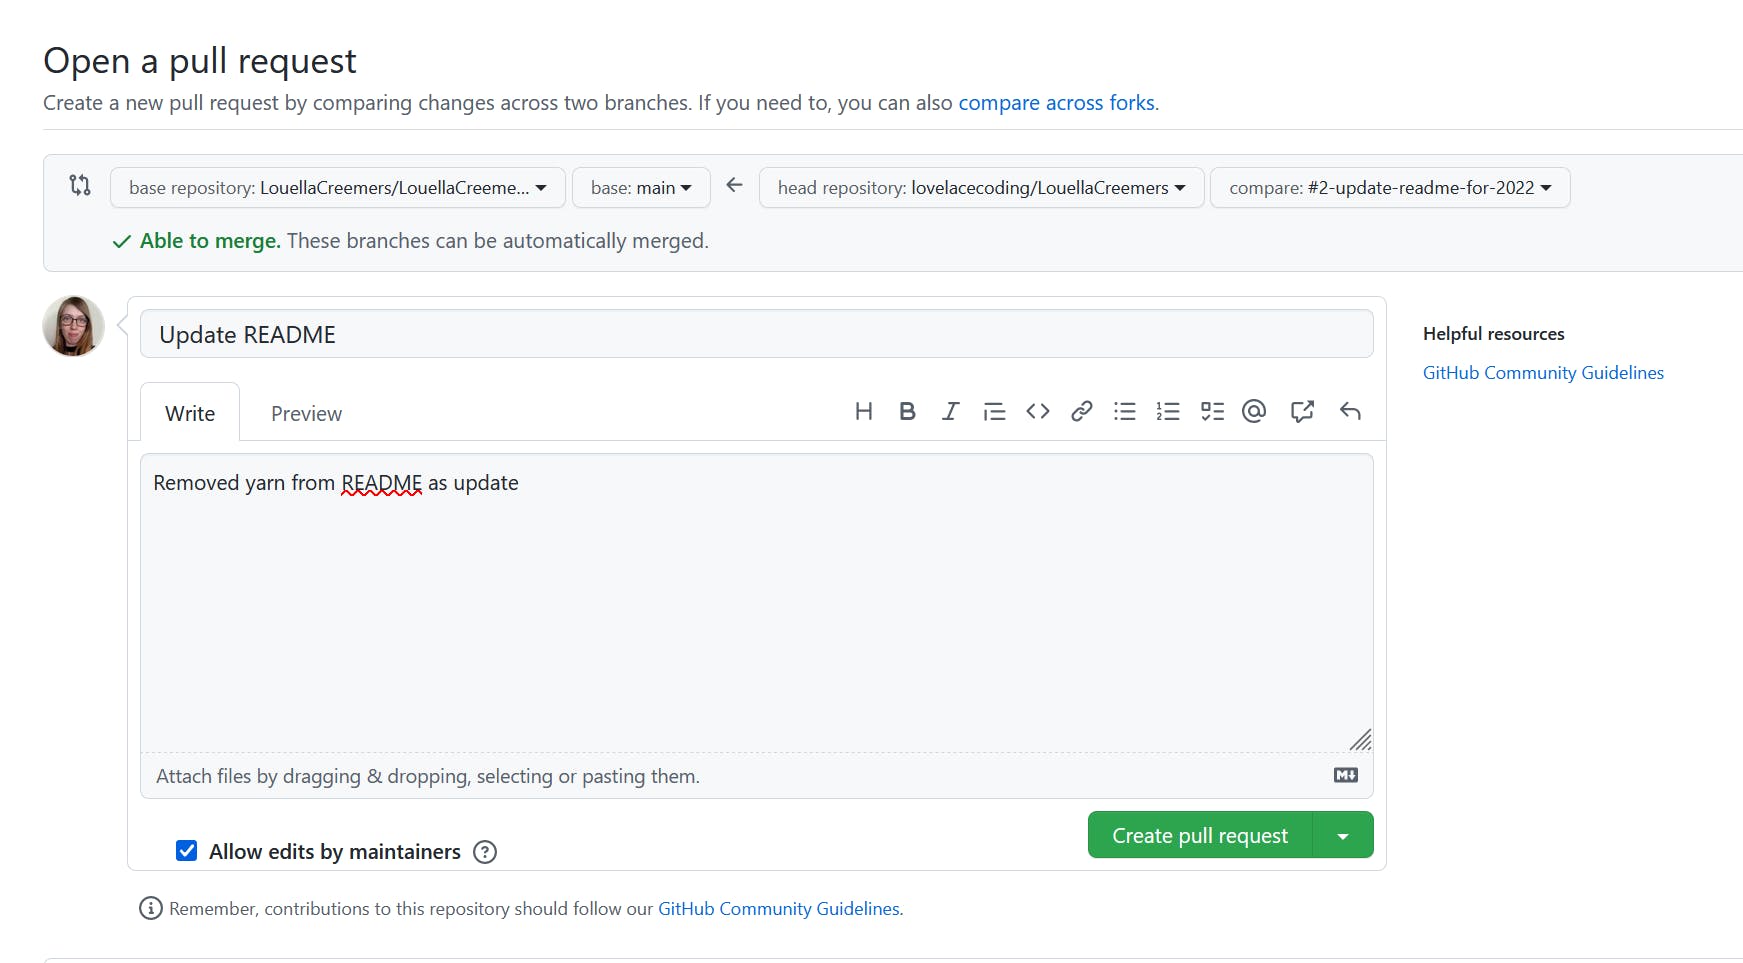
6. Create a Pull Request
And finally, we can create a pull request. The ‘Publish Branch’ section got replaced with ‘Create a Pull Request’. Click on the ’Create Pull Request’ button, and it will send you back to the GitHub page of your newly created PR.
Alter the title and description if needed and click on ‘Create Pull Request’.
That’s it!
Congratulations, you just created a Pull Request with GitHub desktop. I hope this will help you get your Hacktoberfest Pull Requests merged, and of course, keep doing Open Source contributions after October.
Do you want to try this yourself? Eddiehub has a great repository you can use for testing this for Hacktoberfest. Happy hacking!